

 English
 Español
 عربى
عربىWhy Outdoor Decking Fails Earlier Than Expected Many outdoor floors look fine on the day they are installed, then start to show problems within a fe...
READ MORE
Clean air, a human right
Can I install wall panels in a bathroom? The short answer is yes, provided you choose a moisture-resistant panel, prepare the wall correctly, and seal every joint. Tile is no longer the only practical option for bathroom walls. WPC (wood-plastic composite) panels, coextruded PVC panels, and waterproof laminates now offer a faster, easier path to a durable bathroom surface. This guide explains which panels work in each bathroom zone, what tools you need, how to prepare the substrate, how to install the panels step by step, and how to avoid the mistakes that cause premature failure. For a complete overview of the panel systems discussed in this article, visit the main product catalogue.
A bathroom is not one environment. Different walls experience different levels of water exposure, and your panel selection should follow that logic.
During a hot shower, the relative humidity inside an enclosed bathroom can climb above 80 percent within minutes. Water vapor moves into any unprotected wall cavity, and when it reaches a cold surface behind the panel, it condenses. That condensation is the leading cause of swelling, mold growth, and adhesive failure behind wall panels.
| Zone | Water exposure | Required panel property |
|---|---|---|
| Wet zone | Direct spray, steam | Fully waterproof core, sealed edges |
| Splash zone | Frequent droplets, high humidity | Water-resistant face, sealed joints |
| Dry zone | Condensation, moderate humidity | Moisture-resistant material |
Dew point behavior matters for bathroom installations. If the bathroom has a poorly insulated exterior wall, its inner surface stays colder than the room air, so humidity condenses near that surface. A waterproof panel acts as a vapor barrier on the room side, but only if the joints are sealed completely. If the wall behind the panel is consistently damp, install a polyethylene vapor barrier over the substrate before mounting any panels.
Not every wall panel is suitable for a humid room. The material comparison below lists the options most commonly used in bathroom renovations, with their water resistance, dimensional stability, installation difficulty, and best placement.
| Material | Water resistance | Dimensional stability | Installation difficulty | Best placed in |
|---|---|---|---|---|
| WPC | High | High | Moderate | Wet and splash zones |
| PVC | Very high | Medium | Low | Wet zones, tub surrounds |
| Moisture-resistant MDF | Low to medium | Low | Moderate | Dry zones only |
| Glass panel | Very high | High | High | Shower walls, feature walls |
| Ceramic tile | Very high | Very high | High | All zones with sealed joints |
WPC panels contain a mixture of wood fiber and thermoplastic polymer. The wood fiber gives the panel rigidity and a natural wood appearance, while the polymer provides water resistance. In high-quality panels, a coextruded outer cap creates a dense, closed surface that resists staining and prevents moisture from reaching the wood fiber in the core. WPC is often the best all-around choice for bathroom walls because it remains stiff even when the room alternates between dry and humid conditions.
PVC panels are fully waterproof and inexpensive, but they are softer than WPC. They can dent when heavy fixtures are mounted without proper backing, and large temperature swings make them expand more noticeably. Use PVC in tub surrounds where flexibility is an advantage.
MDF is the least suitable option for bathrooms. Even moisture-resistant MDF contains wood fibers that swell when wet. If you choose MDF, use it only in the dry zone, seal all cut edges with a waterproof edge sealer, and install a vapor barrier behind the panels.
Glass panels look modern and clean, but they are heavy, expensive, and require precise fitting with metal clips. Glass works well for a feature wall, not for a full bathroom. Ceramic tile remains a classic choice, but it is slow to install and requires grout maintenance. Wall panels reduce installation time from days to hours and eliminate grout lines where mold often starts.
You can read more about how WPC resists moisture and humidity in our dedicated comparison for composite materials.
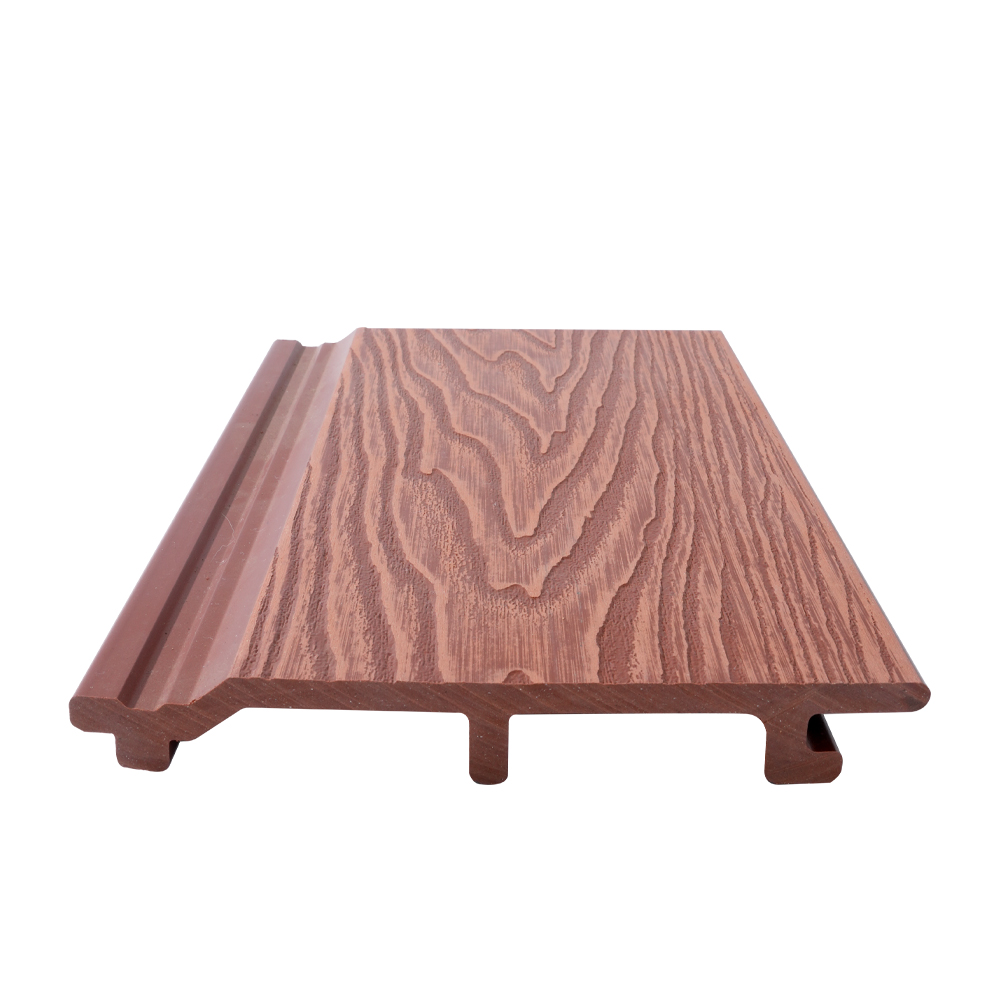 First Generation WPC Wall Panel with Embossed FinishDurable wood-plastic composite panel for indoor and outdoor walls, offering water resistance and UV protection. Its embossed surface suits new builds or renovations, but ensure the substrate is flat and dry for proper adhesion.View Product →
Panels will not fix a failing wall. The existing surface must be flat, clean, dry, and structurally sound. Installing panels over damp plaster or peeling paint leads to bond failure and mold growth behind the panel. Test the wall moisture with a handheld moisture meter; anything above 12 percent moisture content means the wall must dry out before installation continues.
Use a construction adhesive that is approved for wet areas and for plastic-based panels. Hybrid polymer adhesives bond directly to WPC and plaster, stay flexible after curing, and resist steam better than standard acrylic mastics. Apply the adhesive in vertical S-shaped strips spaced 15 to 20 centimeters apart. Dot application creates air pockets where condensation can collect and weakens the bond over time.
Like all building materials, WPC panels expand and contract as temperature and humidity change. Leave a 3 to 5 millimeter gap at the top, bottom, and inside corners, then cover the gap with a trim profile or a silicone bead. Panels installed without an expansion gap will buckle, especially when dark walls absorb heat from sunlight during the day.
Use a neutral-cure silicone for the joints. Neutral-cure silicone does not release acetic acid while curing, so it will not corrode the panel edge or the adhesive underneath. Insert a continuous bead of silicone into the groove before engaging the next panel, then tool the visible seam to create a flat, hydrophobic line that repels water.
An extractor fan is non-negotiable. Even waterproof panels need help removing humidity from the room. An exhaust fan rated for at least eight air changes per hour keeps surface condensation low and protects the adhesive bond. If the bathroom has no fan, install one or run a dehumidifier for the first weeks after installation.
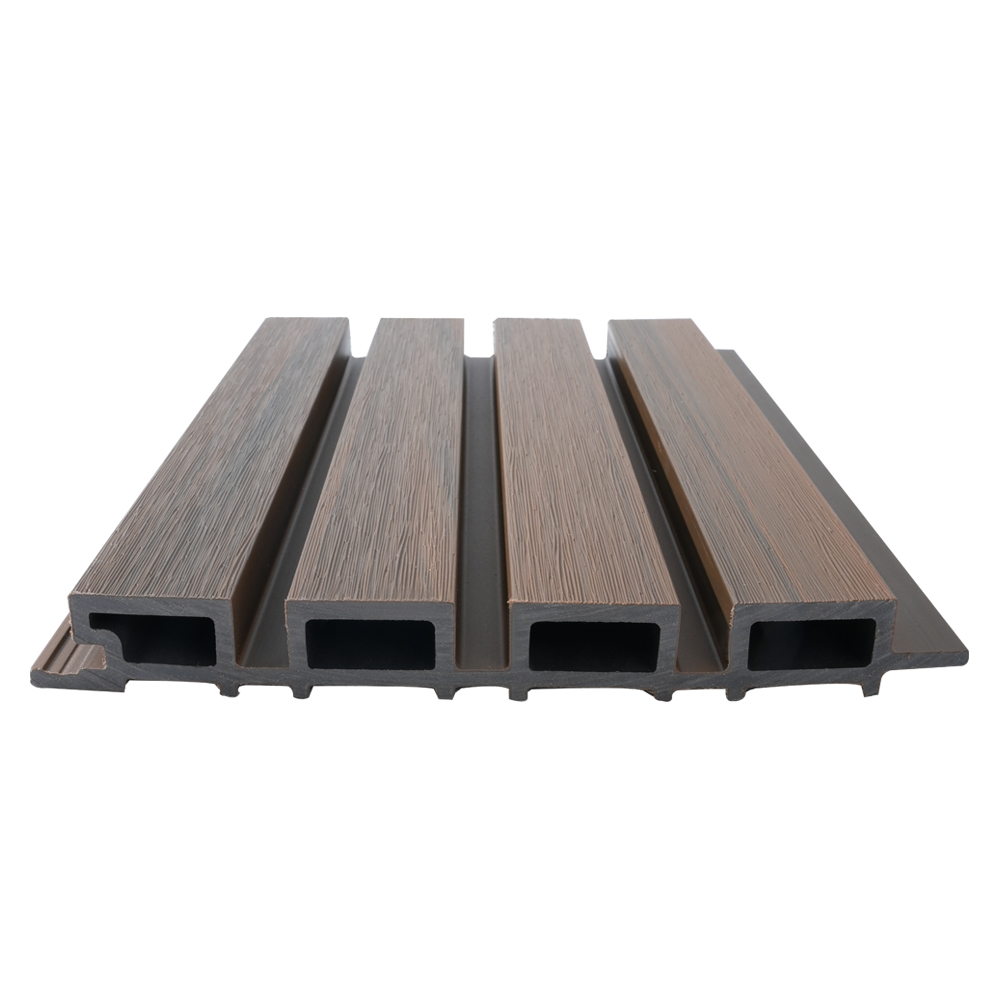 Double-Sided Co-Extruded WPC Great Wall PanelRecyclable wood-plastic panel with a co-extruded surface usable on both sides, providing weather and corrosion resistance. Ideal for humid spaces like bathrooms or exterior walls, yet proper ventilation and adhesive prep remain essential.View Product →
If you are removing old ceramic tiles, a wide chisel and a vibration tool work faster than a hammer alone. Dispose of tile debris carefully, since sharp edges can damage wiring behind the wall. After removal, fill the mortar bed with a sand-cement mix, level it, and let it dry for at least 48 hours before applying fresh adhesive.
Start from the back wall of the shower enclosure or the most visible corner. Mark a vertical reference line with a level 100 millimeters from the internal corner, then check the wall for plumb. If the wall is out of plumb by more than 5 millimeters, use a straight batten as a reference plane. Measure the total run of each wall and divide by the panel width to find the width of the final cut panel. Try to keep this last cut at least 150 millimeters wide, because very narrow strips are difficult to align accurately.
Cut with the face side up to reduce chipping. For a straight cut, clamp a straightedge across the panel and run a fine-tooth blade through the surface in one continuous pass. Support the panel on both sides of the cut line to prevent the board from cracking. For pipe penetrations, mark the center point, drill a small pilot hole, and cut the final opening with a hole saw oversized by 5 millimeters. The extra clearance allows the panel to expand and makes it easier to slide the panel around the pipe during mounting.
Run a neat silicone bead along every internal corner, along the bathtub or shower tray junction, and around pipe escutcheons. Tool each bead with a caulk finishing tool or a wet finger. Do not block the small drain holes at the bottom of the panels; these vents allow trapped moisture to escape.
Keep the bathroom dry for at least 24 hours. In humid weather, extend the curing time to 48 hours. Exposing the panels to shower spray before the adhesive reaches full bond strength can allow the panels to shift. After curing, remove the spacers and install trim profiles over the top expansion gap.
Bathroom wall panels need very little maintenance, but the small tasks should not be skipped. Wipe the surface with a soft sponge and a pH-neutral cleaner every one to two weeks to prevent soap scum build-up. Avoid abrasive scouring pads, which dull the coextruded cap layer and make the surface more likely to hold dirt.
Check the silicone joints twice a year. If you see cracks, gaps, or a dull surface, remove the old silicone with a utility knife and replace it with fresh neutral-cure silicone. Pay special attention to the junction where the wall panels meet the shower tray, because this seam carries the heaviest water load.
If the bathroom is used frequently, ask everyone to run the extractor fan during and 15 minutes after a shower. Keeping air moving is the simplest way to protect both the panels and the adhesive.
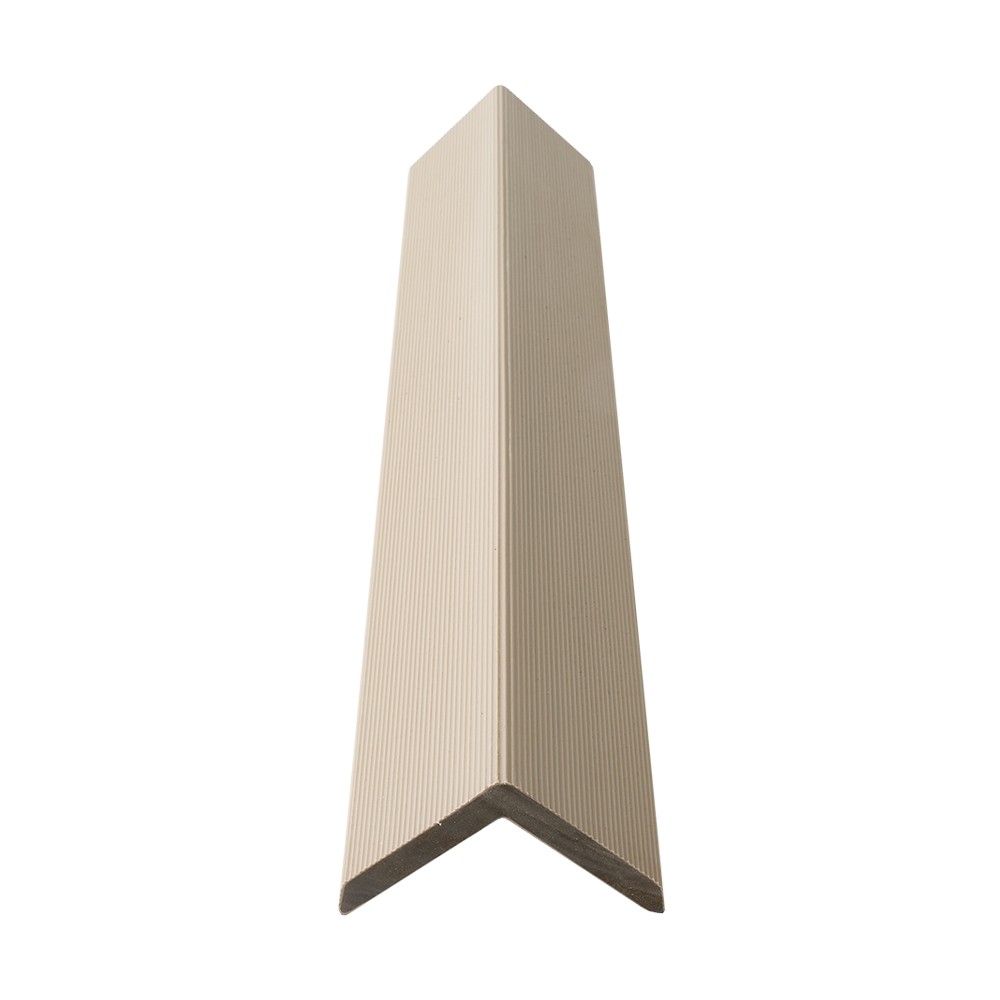 Co-extruded Edge Band for Moisture ProtectionWaterproof, wear-resistant edge banding made from recycled wood-plastic composites, free of formaldehyde. Useful for finishing panel edges in damp areas, but only apply over clean, sound surfaces to maintain durability.View Product →
Yes, if the tiles are firmly adhered, the grout is intact, and the surface is clean and dry. Sand glossy tiles lightly, then apply a hybrid polymer adhesive. Loose tiles or crumbling grout must be removed first, because panel adhesive will not create a new bond on a failing substrate.
Yes. WPC panels with a coextruded cap layer are a common choice for shower walls because the dense outer cap does not absorb water and the composite core resists swelling. All joints and pipe penetrations must be sealed with neutral-cure silicone to prevent steam from reaching the substrate.
Wait at least 24 hours for the adhesive and silicone to cure. If the bathroom is humid or cold, extend the wait to 48 to 72 hours so the adhesive can reach full mechanical strength before it bears the weight of water spray and steam.
No special machinery is required. A circular saw with a fine-tooth carbide blade, a sharp utility knife, and a hole saw set are sufficient. Always cut face-up, support the panel on both sides of the cut line, and deburr the cut edges with a knife before mounting.
Large panels are heavy and need two people for safe lifting and alignment. A helper also presses the panel evenly onto the adhesive and holds the panel vertical while you drive spacers into place. Solo installation is possible only for narrow strips and small spaces.
Cut through the silicone joints with a utility knife, then insert a thin pry bar behind the panel edge. WPC panels fixed with hybrid adhesive can usually be released with careful lever pressure. The panel surface may be damaged, but the underlying wall remains mostly intact.

Why Outdoor Decking Fails Earlier Than Expected Many outdoor floors look fine on the day they are installed, then start to show problems within a fe...
READ MOREWall panels have become one of the most popular cladding solutions in modern renovation. Homeowners, contractors, and first-time DIYers are drawn to ...
READ MORECan I install wall panels in a bathroom? The short answer is yes, provided you choose a moisture-resistant panel, prepare the wall correctly, and sea...
READ MOREWhen you search for a "wpc factory" online, you are not just looking for any supplier. You are hunting for a partner who can deliver consistent qual...
READ MORE
 No. 6, Nanyuan South Road, Tangyang Town Industrial Park, Dongtai City, China
 [email protected]
 +86-17388015349
Copyright © Jiangsu Xuanhui New Material Technology Co., Ltd. All Rights Reserved.Custom Wood Plastic Composite Environmentally Friendly Materials Factory

