

 English
 Español
 عربى
عربىWhy Outdoor Decking Fails Earlier Than Expected Many outdoor floors look fine on the day they are installed, then start to show problems within a fe...
READ MORE
Clean air, a human right
Wall panels have become one of the most popular cladding solutions in modern renovation. Homeowners, contractors, and first-time DIYers are drawn to the promise of fast installation, low mess, and instant visual transformation. Yet the recurring question remains: are wall panels easy to install? The honest answer is not a clean yes or no. It depends on the panel material, the condition of the wall, the fastening system, and your own skill level. This guide examines each variable so you can judge realistically before starting a project. It also covers tools, a step-by-step workflow, common mistakes, time and cost expectations, and the moment when a professional becomes a wise investment.
The difficulty of installing wall panels cannot be judged by the panel alone. The five factors below carry the most weight in every project.
Panels designed with a tongue-and-groove joint or a clip interlock tend to be the most forgiving because they self-align as you work. Panels that require precision butt joints leave visible gaps if your cuts are off by even a few millimeters. The substrate is equally decisive: a flat plasterboard wall can be paneled in hours, while a rough concrete wall may need a timber frame or leveling compound first. In both cases, the wall panel itself is rarely the bottleneck.
First-time installers often overestimate the cutting work and underestimate the preparation work. In most wall panel projects, preparation and measuring take at least half of the total installation time. Once the first panel is aligned correctly, the rest follow at a surprisingly fast pace. That is why experienced crews spend so much time on the setup and so little time on the actual covering.
The real difficulty of wall panels is not the panel itself. It is the substrate preparation and the details around openings and edges.
Wall panel products are not equally easy to install. Some are designed for weekend DIY projects, while others require a metal subframe and professional cutting tools. The table below summarizes how the common formats compare.
| Panel type | Mounting | Installation ease | Typical use |
|---|---|---|---|
| WPC wall panel | Clip or screw | Easy to moderate | Outdoor walls, wet areas, feature walls |
| WPC great-wall panel | Tongue and groove | Easy | Interior and exterior feature cladding |
| PVC panel | Adhesive or clip | Easy | Bathrooms, kitchens |
| Plywood or MDF panel | Screw or nail | Moderate | Painted accent walls |
| Aluminum composite panel | Subframe and rivet | Difficult | Commercial facades |
| Stone or ceramic veneer | Adhesive and grout | Moderate to difficult | High-end interior finishes |
WPC and PVC panels are consistently the easiest to handle because they are lightweight, cut with ordinary woodworking blades, and require no wet trades. Aluminum composite and stone veneer demand special cutters and a stable subframe, so they belong in professional territory. If you are looking for a DIY-friendly balance of appearance and durability, a first-generation WPC wall panel is a sensible place to start.
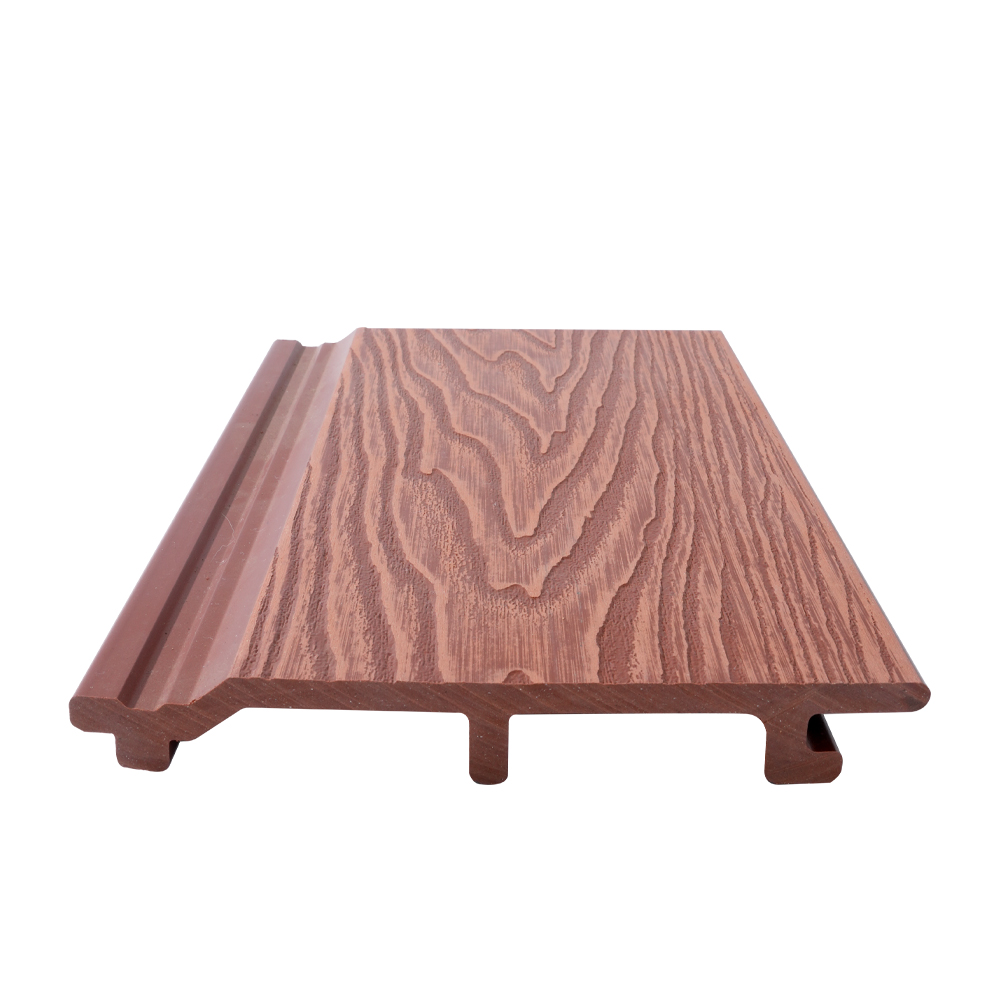 First Generation WPC Wall Panel for DIY-Friendly Interior and Exterior DecorationThis wood-plastic composite panel offers a lightweight, embossed surface that is easy to cut and install with standard tools. It suits balconies, corridors, and walls, providing water resistance and UV stability for long-lasting appearance.View Product →
Good preparation makes installation easy. Most wall panel systems require tools that are already common in a basic home toolkit. You do not need a workshop full of specialized machinery.
Do not overlook consumables. A quality adhesive, the correct drill bit, and compatible trims make a bigger difference than most people expect. For WPC wall panels, a fine-tooth saw blade prevents edge chipping, and pre-drilling holes avoids stress marks around screw heads. These small details separate a smooth install from a frustrating one.
The exact sequence varies slightly by product, but the following workflow covers most clip-fit and tongue-and-groove wall panel systems, including WPC wall panels and great-wall panels.
Each of these steps is straightforward on its own. The installation becomes difficult only when steps are skipped, especially leveling the substrate and leaving expansion gaps. For hollow WPC profiles, which expand and contract more than solid PVC, the expansion gap is not optional. As long as you respect these details, the process is genuinely manageable.
A double-sided coextruded great-wall panel follows the same workflow, with the main difference being the surface texture and the slightly different interlock profile. If you choose that format, check the manufacturer drawing for the correct direction of engagement before fixing the first row.
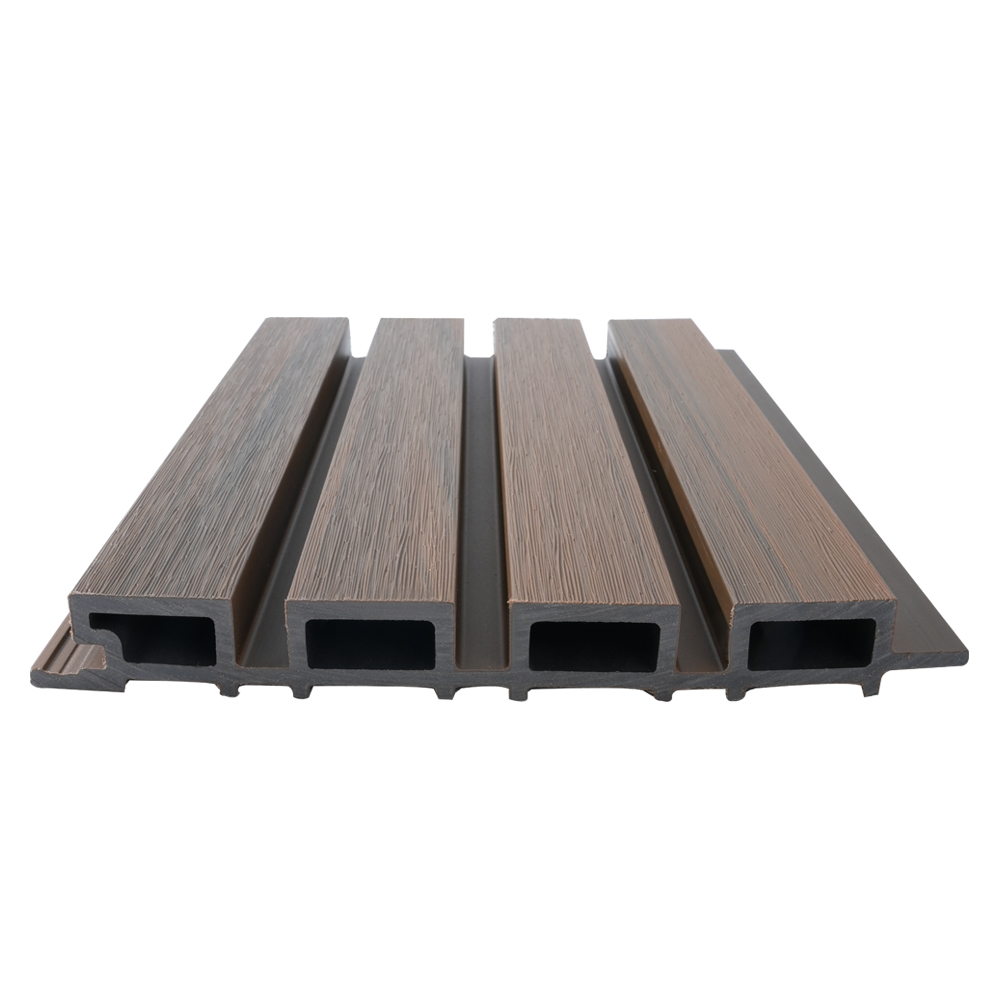 Double-Sided WPC Co-Extruded Great Wall Panel with Weather ResistanceFeaturing a co-extruded surface usable on both sides, this panel adapts to various decorative needs indoors and outdoors. Its recycled wood-plastic core offers corrosion resistance and stability in humid, hot, or cold conditions, making it a reliable choice for demanding walls.View Product →
Most problems with wall panels do not come from the product itself but from incorrect preparation or fixing. These are the issues installers see most often, and each one is preventable.
| Mistake | Likely cause | Solution |
|---|---|---|
| Panels drift out of alignment | Wall not flat, no reference line | Level the wall; pull a chalk line |
| Visible gaps between panels | No expansion gap, humidity push | Leave designed gap; cover with trims |
| Screw heads sink or strip | Wrong bit, no pre-drilling | Use pilot holes and correct bit size |
| Adhesive does not hold | Cold, dusty, or damp substrate | Clean and dry the wall; add mechanical support |
| Chipped edges at cutouts | Worn blade or unsupported cutting | Use a jigsaw with a backing board |
The common thread is preparation. Spending one extra hour cleaning and leveling the wall removes more than half of the potential failure modes. It is also worth checking the manufacturer instructions for the maximum recommended panel length and the spacing of clips or rails. When in doubt, a coextruded edge band can cover minor cut imperfections and give the finished wall a clean, professional boundary.
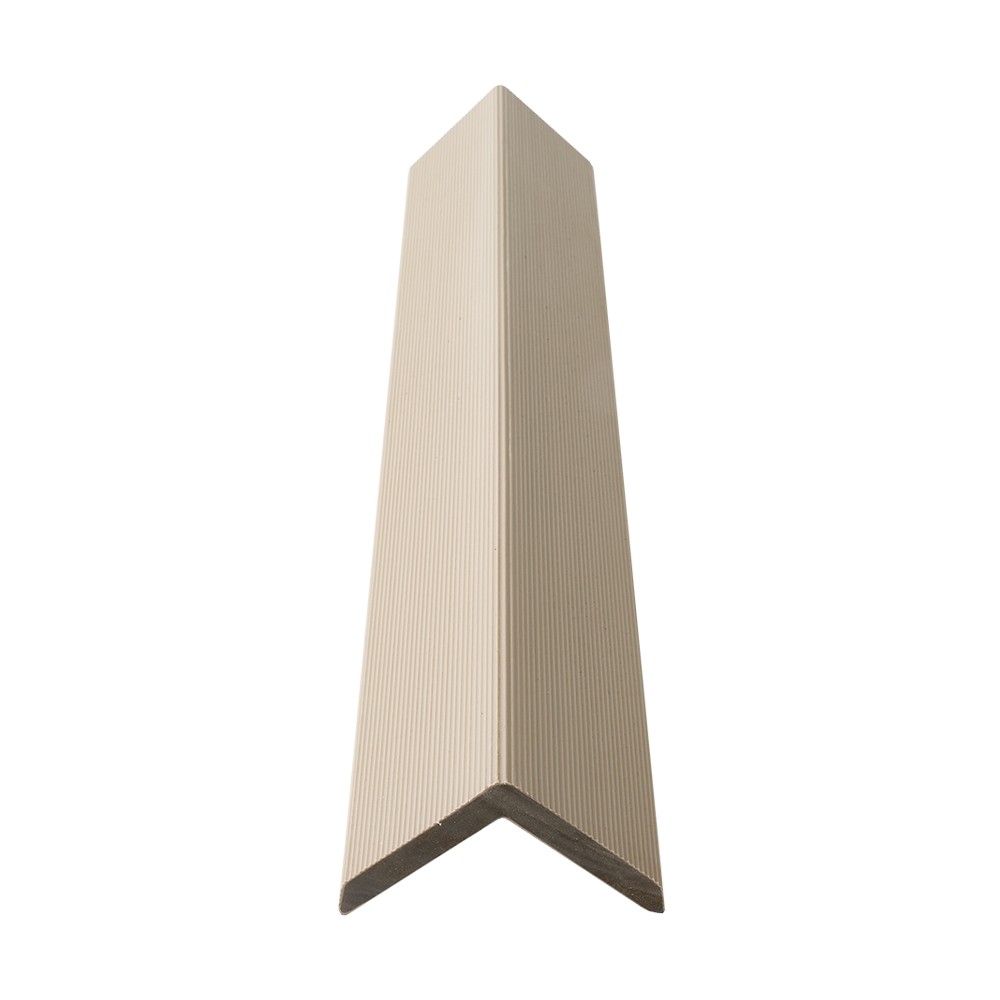 Co-Extruded Edge Band for Clean Finishing of Wall Panel InstallationsThis edge banding strip, made with co-extrusion technology, provides a durable and waterproof trim that masks cut imperfections. It helps create a professional boundary on walls and furniture while resisting wear, moisture, and aging without added formaldehyde.View Product →
For a rectangular interior wall with no major obstacles, a competent DIYer can install wall panels over a weekend. For a two-story exterior facade, a stairwell with a tall drop, or a layout full of windows, a professional crew saves money in the long run by avoiding rework. A separate guide examines the DIY versus professional installation question in more detail, including cost comparisons and quality benchmarks.
As a rule, wall panels reduce professional labor time compared with tiling and plastering because they cover large areas quickly. A two-person crew can typically install 20 to 30 square meters of WPC wall panels in a day on a simple layout, whereas a tiler might manage only 5 to 8 square meters. That speed is one of the main reasons panel cladding has become a favorite among renovation contractors.
Time predictions always need a safety margin. Measuring errors, unexpected wall conditions, and cutting waste can each add 30 minutes to an hour. The estimates below assume a clean substrate and a standard room layout.
| Project scenario | Typical installation time | Cost direction |
|---|---|---|
| Interior feature wall of 12 square meters | 4 to 8 hours for a DIYer | Low |
| Full bathroom wall set | 1 to 2 days | Medium |
| Exterior facade of 50 square meters | 3 to 5 days with a two-person crew | Medium to high |
| Complex ceiling and wall combination | Add roughly 50 percent extra time | Higher |
Looking at the bigger picture, wall panels still beat most traditional finishes on speed. And because WPC panels do not need painting, sealing, or grouting after installation, the maintenance time following completion is close to zero. That makes the total cost of ownership attractive even when panel materials cost slightly more than paint or wallpaper.
Yes, if the tile surface is flat, clean, and firmly bonded. Clean the surface with a degreaser, scuff the glaze lightly, and use a strong panel adhesive. Do not install over hollow or loose tiles.
Yes. Hollow WPC profiles expand and contract with temperature changes. Leave a three to five millimeter gap at internal corners and panel ends, and cover the gap with an edge trim to keep the visual line clean.
Yes, for panels under three meters long. Larger panels are easier with a helper because a slight twist can break the interlock during engagement.
In normal interior conditions, no. In wet areas, use panels with sealed joints and waterproof trims. In cold climates, refer to the manufacturer specification for ventilation and barrier requirements.
Skipping surface preparation. An unleveled or damp substrate causes alignment drift, adhesive failure, and gaps between panels. Preparation time is never wasted.
So, are wall panels easy to install? For most homeowners, the answer is yes, provided you measure carefully, prepare the substrate, and choose a panel system designed for straightforward mounting. WPC wall panels, in particular, combine lightweight handling, simple clip or tongue-and-groove fixing, and long-term durability, which makes them one of the most accessible cladding options on the market. When the surface is ready and the layout is marked, the panels practically guide you along the wall. The result is a durable, good-looking finish completed in a weekend or two, without the dust, grout, and drying time of traditional methods.

Why Outdoor Decking Fails Earlier Than Expected Many outdoor floors look fine on the day they are installed, then start to show problems within a fe...
READ MOREWall panels have become one of the most popular cladding solutions in modern renovation. Homeowners, contractors, and first-time DIYers are drawn to ...
READ MORECan I install wall panels in a bathroom? The short answer is yes, provided you choose a moisture-resistant panel, prepare the wall correctly, and sea...
READ MOREWhen you search for a "wpc factory" online, you are not just looking for any supplier. You are hunting for a partner who can deliver consistent qual...
READ MORE
 No. 6, Nanyuan South Road, Tangyang Town Industrial Park, Dongtai City, China
 [email protected]
 +86-17388015349
Copyright © Jiangsu Xuanhui New Material Technology Co., Ltd. All Rights Reserved.Custom Wood Plastic Composite Environmentally Friendly Materials Factory

